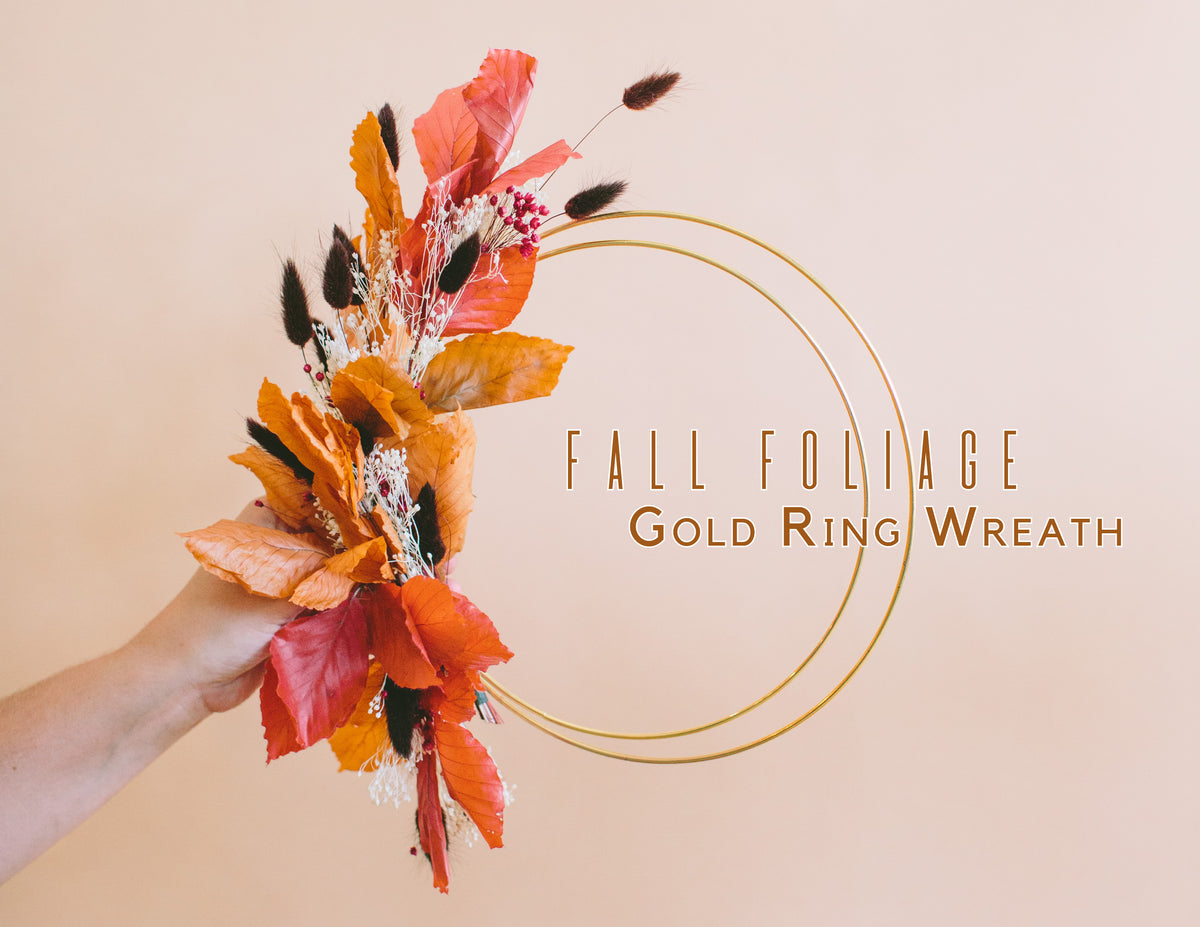
It's wreath season and we wanted to share with you one of our favorite ways to put a twist on your classic fall wreath. All you need is to stock up on a few tools, some fall foliage and you can make this Gold Ring Wreath along with us.
Tools:
1. Foraged or store bought Fall Foliage. You can find this at your local craft store, florist, online, or in your back yard! We recommend finding at least 3-5 different types of dried florals to style your wreath with. If you are in the Los Angeles area, stop by one of our brick and mortar shops for supplies.
2. Floral Tape.
3. 1-2 Gold Craft Rings. We used a 10" + 8" ring for our wreath. You can find these at your local craft store or online here.
4. Pruning Sheers or Sharp Scissors.
Step One:
Prepare and organize all of your tools. When picking out your different florals for your wreath make sure to choose a variety of color and texture. We decided to use 2 gold rings in this design, but you can simply use one if you would like.
If you are using two, you will attach them along one side using floral tape. You want to use the floral tape along the section you wish to cover with florals. If you haven't used floral tape before, it works best if it is stretched while it is wrapped, this creates friction and allows the adhesive to stick.

Step Two:
We will be attaching the florals in bunches. Clip off the first pieces of foliage you would like to use and bunch them together in a creative way. We chose a little bit of everything, with the bulk of the wreath being leaves.

Step Three:
Once you have your first bunch gathered in an aesthetically pleasing way, use the floral tape to tape it together. You only need a small piece, no longer than 2 in. Remember to stretch the tape when you are wrapping, so it sticks to the previous layer. Next, cut the stems about 1 in below the tape line.

Step Four:
Next, we will attach the bundle to the ring base. Using the floral tape, tack down the first bunch tightly along the the ring starting at the top working your way down.

Step Five:
Now you will want to repeat steps 3 and 4, piecing together different bunches and taping them down along the ring base. We chose to alternate the orange and red florals in our bunches to create a pattern. Here is your chance to get creative! We taped down 3 bunches before we moved on to step 6.


Step Six:
Now it's time to finish the wreath. With your last bundle going in the opposite direction, you want to find a hidden spot to tack it down. This part can be a bit tricky and may take a little maneuvering. Be careful when taping not to catch any of the other florals. You want to hide the green tape as much as possible. Do not worry if some can be seen, we will cover them up in our final step.

Step Seven:
Our final step is filling in any open spots. Take small clippings and simply weave them into the wreath. You can also use floral glue or hot glue if you need a little extra adhesive to prevent them from falling out over time.

Here is another example of what you can do on a Gold Ring!
 Wildflora Gold Ring Wreath with fall Foliage Tutorial
Photography by Valerie Noell © 2019


